
How to Get Your Dog Comfortable with Ear Checks
Ear checks should be a calm, rewarding part of your dog’s routine—not a wrestling match. Learn how to build trust step by step, recognise early warning signs and know when a vet should take over.
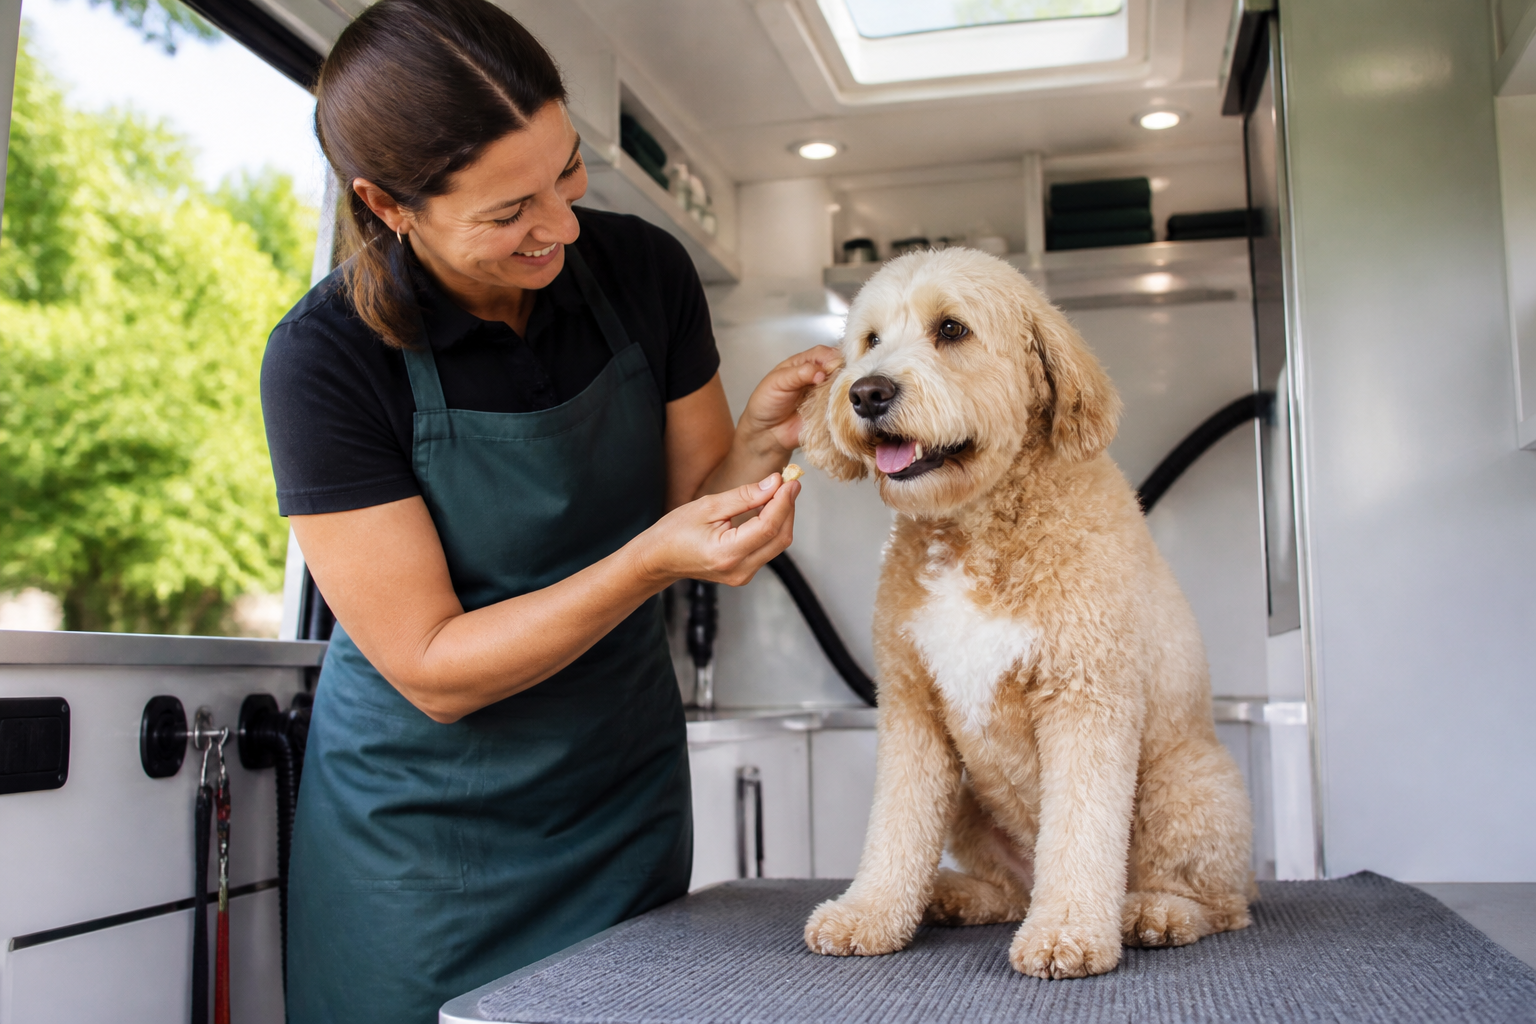
Many dogs are perfectly happy to have their ears stroked, but become worried as soon as a hand lifts the ear flap or a bottle appears. This is understandable: ears can be sensitive, and an uncomfortable ear problem may make even gentle handling feel unpleasant. The good news is that most dogs can learn to feel more relaxed about ear checks when owners take things slowly and keep every stage predictable.
The aim is not to force a full inspection in one session. Instead, you are building a history of safe, easy experiences. A brief look followed by praise is often more useful than holding your dog still until they become frightened. Regular, gentle checks also help you learn what is normal for your dog, so changes are easier to spot.
This guide explains how to introduce ear handling at home, how to read your dog’s responses and which signs mean you should contact your veterinary practice. Ear checks are not a substitute for veterinary care, and a groomer should never try to diagnose or treat a painful ear.
Why ear checks matter
A quick visual check can help you notice changes such as redness, swelling, discharge, an unpleasant smell or a newly sore area. Dogs with floppy ears, narrow ear canals, allergies or a history of ear trouble may need particularly careful monitoring, but any dog can develop an ear problem.
Some dogs show obvious signs, including repeated head shaking, scratching or rubbing the side of the face. Others simply become quieter, avoid being touched or react when their head is handled. A change in behaviour can be important, especially if your dog was previously comfortable with ear handling.
Home checks should be gentle and external. You can look at the visible ear flap and the opening of the ear canal, but you should not poke down into the canal or attempt to investigate deeply. The anatomy of the ear means that pushing objects inside can cause injury or compact debris further in.
Before you begin: make the experience easy
Choose the right moment
Practise when your dog is relaxed but awake—perhaps after a quiet walk, during a calm afternoon or while they are already enjoying a gentle fuss. Avoid starting when your dog is overexcited, overtired, hungry or desperate to go outside.
Work in a familiar, non-slip area. Sit beside your dog rather than leaning over them. Turning your body slightly to the side can feel less intimidating than facing them directly.
Gather a few simple supplies
- Small, tasty treats that your dog can eat quickly.
- A calm voice and plenty of time.
- A soft mat or non-slip surface.
- A torch only if you need extra light—never shine it directly into the ear.
- Cotton wool or a soft pad for wiping the outer ear only, if your vet has advised cleaning.
- A veterinary-approved ear cleaner only when your vet has recommended one and explained how to use it.
You do not need to buy special equipment to teach ear-handling skills. In fact, adding bottles, towels and cotton wool too early can make the exercise more complicated. Start with your hands and build up gradually.
Read your dog’s body language
Your dog may be comfortable without looking completely still. Soft eyes, loose muscles, normal breathing, a relaxed mouth and the ability to take a treat are generally encouraging signs. They may move away briefly and return, which is useful information rather than bad behaviour.
Early signs of uncertainty can include turning the head away, lip-licking, yawning, blinking more than usual, lowering the body, leaning away, freezing or refusing a treat. If you notice these signs, make the next step easier or pause altogether.
Growling, snapping or attempting to escape should be taken seriously. Do not tell your dog off for communicating discomfort. Move away safely and arrange veterinary advice if this is new behaviour, because pain can be one reason a dog suddenly objects to handling. If your vet rules out a medical cause, a suitably qualified behaviour professional may be able to help.
Step-by-step: teaching your dog to accept ear checks
1. Begin away from the ears
Start by sitting near your dog without touching them. Offer a treat, wait a moment and offer another. You are teaching your dog that your calm presence predicts something pleasant.
Next, stroke an area your dog already enjoys, such as the shoulder or chest. Give a treat and stop. Repeat for a few short sessions over several days if needed.
2. Move gradually towards the neck
When your dog is comfortable with shoulder strokes, touch the side of the neck for one second, then reward. Keep your hand light and remove it before your dog feels the need to move away.
Repeat on both sides, but do not assume that one side will feel the same as the other. A dog may have a previous injury, a sensitive patch or a developing problem that makes one ear more difficult.
3. Touch the base of the ear
Place your fingers briefly at the base of the ear without lifting the flap. Reward immediately. Over several repetitions, gradually increase the length of the touch, always staying below your dog’s comfort threshold.
If your dog has naturally floppy ears, allow the ear to remain in its usual position at first. If your dog has upright ears, touch the base rather than reaching for the tip.
4. Lift the ear flap a little
Once your dog is relaxed with the base being touched, lift the flap just a small amount—perhaps for half a second. Give a treat and release it. Repeat only while your dog remains comfortable.
Over time, you can lift the flap for a little longer and look at the visible outer area. There is no need to pull the ear open widely. A gentle check should never involve stretching, twisting or holding the head still.
5. Add a calm visual check
When lifting the flap is easy, glance at the visible skin and ear opening. Keep the check brief. You are looking for what is normal for your dog, not trying to inspect deep inside the canal.
Reward your dog while the ear is still comfortable, rather than waiting until the end. This helps them understand that calm cooperation makes good things happen.
6. Introduce a wipe only if needed
If your vet has advised gentle cleaning of the outer ear, first practise showing your dog the cotton wool, followed by a treat. Then touch the cotton wool to the outside of the ear for a moment and reward.
Do not put cotton buds, fingers or other objects down the ear canal. Do not scrape at wax, pull hair from the canal or use household products. A small amount of light brown wax may be normal, while heavy wax, discharge or a strong smell needs veterinary advice rather than vigorous cleaning.
7. Build towards both ears
Keep early sessions to one ear, or even one brief touch. Once your dog is comfortable, alternate sides. You may find it easier to practise one ear in the morning and the other later in the day.
End while your dog is still successful. A session lasting a few seconds can be excellent progress. The goal is confidence, not endurance.
Helpful techniques for nervous dogs
Use a consent-based pause
Teach your dog that moving away makes the handling stop. When they return, you can offer another easy repetition. This does not mean allowing your dog to avoid all care forever; it means giving them a clear way to communicate before they become overwhelmed.
Try a chin rest
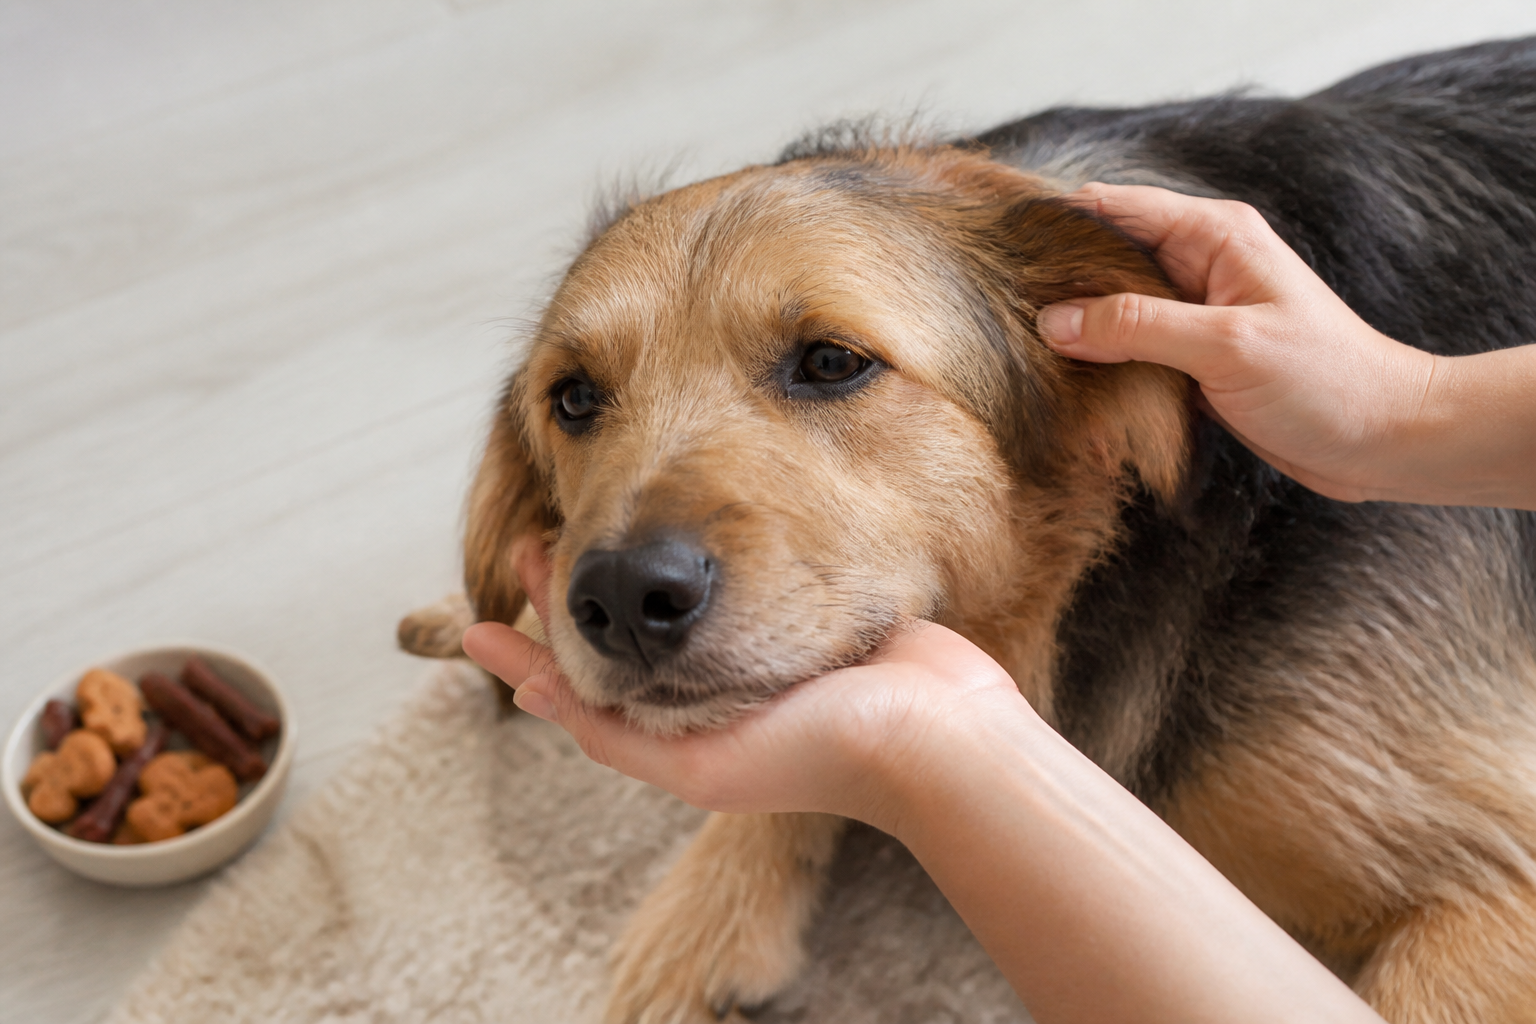
You can teach your dog to rest their chin on your hand or a folded towel. Begin by rewarding any movement towards your hand. Gradually reward a brief chin rest, then add a gentle touch near the ear. If the chin lifts, pause.
This can give you a useful visual signal: chin resting may indicate that your dog is ready, while lifting the head tells you to stop or make the exercise easier.
Use high-value rewards wisely
For some dogs, ordinary biscuits are enough. Others may work better for tiny pieces of cooked chicken, cheese or another food they can safely eat. Keep pieces small and consider your dog’s overall diet and any medical restrictions.
If your dog will not take a favourite treat, do not keep advancing. They may be worried, in pain or too distracted. End the session and try again later, or contact your vet if the change is sudden.
Practise without an examination every time
If every ear touch leads to cleaning, medication or nail clipping, your dog may begin to avoid your hands. Include plenty of easy sessions where you touch the ear briefly, reward and finish.
When not to practise at home
Do not begin a desensitisation exercise on an ear that may already be painful. Contact your vet if you notice repeated scratching, head shaking, face rubbing, redness, heat, swelling, a bad smell, discharge, bleeding, excessive wax or a swollen ear flap.
A sudden problem after a walk can sometimes involve a grass seed or another foreign object. Do not try to remove anything lodged in the ear yourself. Your vet can examine the ear safely and decide what treatment is needed.
Head tilt, loss of balance, unusual eye movements, vomiting or marked distress require prompt veterinary attention. A swollen face or widespread swelling alongside ear changes may be an emergency. If you are worried, telephone your veterinary practice for advice rather than waiting to see whether the problem settles.
Never use leftover ear drops, human ear medication, essential oils, vinegar mixtures or over-the-counter treatments unless your vet has specifically advised them for your dog. Different ear problems can look similar, and some products may be unsuitable if the eardrum is damaged.
Cleaning is not the same as checking
Many healthy dogs do not need routine ear cleaning. Over-cleaning can irritate the delicate skin and may make a dog more sensitive to handling. The right frequency depends on your dog’s individual health, ear shape, skin condition and veterinary advice.
If your vet has recommended cleaning, ask them to demonstrate the technique and confirm which product to use. Usually, the cleaner is applied carefully according to the label or veterinary instructions, the base of the ear is gently massaged if advised, and the outer ear is wiped with cotton wool or a soft pad. Your dog may shake their head afterwards, but you should stop if the ear appears more painful or your dog becomes distressed.
Follow your vet’s instructions for any prescribed ear medication, including the full course and any follow-up appointment. Grooming can help keep the visible ear area tidy, but it cannot replace examination or treatment of the ear canal.
Common mistakes to avoid
- Holding the dog tightly: restraint may make the immediate check possible but can increase fear and make future handling harder.
- Rushing straight to the ear: begin with areas your dog already enjoys.
- Continuing after warning signs: a dog that freezes or turns away is asking for a pause.
- Using cotton buds: these can injure the ear or push debris further inside.
- Plucking ear hair without advice: unnecessary hair removal can irritate some ears; ask your vet what is appropriate for your dog.
- Cleaning a painful ear: seek veterinary advice first.
- Ignoring a new reaction: a sudden dislike of ear handling may indicate pain rather than stubbornness.
- Making every session too long: several short, successful practices are usually better than one difficult session.
A simple weekly ear-check routine
- Choose a calm time and prepare a few treats.
- Let your dog settle without being held in place.
- Stroke the shoulder and neck as normal.
- Touch the base of each ear, then reward.
- Lift each ear flap gently if your dog remains relaxed.
- Look at the visible area and notice any unusual smell, redness, swelling or discharge.
- Stop immediately if your dog shows discomfort.
- Record anything unusual and contact your vet when needed.
A weekly routine can be useful for many dogs, with additional brief checks after swimming, bathing or walks through long grass. Your dog’s individual needs may be different, so ask your vet if they have a history of ear disease.
How mobile grooming can support calm handling
At Howling Dogs Grooming, we understand that ears can be a sensitive subject. One-to-one mobile grooming in our purpose-built van allows us to keep the environment quiet, work at your dog’s pace and avoid the bustle of a busy salon. A calm groomer can help maintain the fur around the ear area where appropriate and let you know if something visible appears unusual.
However, a groomer does not diagnose ear disease or replace your veterinary team. If an ear looks sore, smells unpleasant, is producing discharge or causes your dog obvious discomfort, grooming should be paused and your vet contacted. Please tell us about any previous ear problems, veterinary instructions or handling concerns before an appointment.
Frequently asked questions
How often should I check my dog’s ears?
A brief, gentle check once or twice a week is a reasonable starting point for many dogs, but dogs with recurring ear problems may need a routine set by their vet. Checking should be quick and comfortable, not a daily search for something to clean.
My dog shakes their head after I look at their ears. Is that normal?
An occasional shake can happen after an ear flap has been moved or after a vet-approved cleaner is used. Repeated or vigorous head shaking, scratching, rubbing, pain or a new unpleasant smell should prompt a call to your vet.
Should I clean my dog’s ears before a grooming appointment?
Only clean them if your vet has advised it and you know which product and method to use. Do not try to hide redness, smell or discharge before grooming. Sharing the information helps the groomer work safely and tells you when veterinary care may be more appropriate.
What if my dog growls during an ear check?
Stop and give your dog space. Growling is a warning that they are uncomfortable. If the reaction is new, arrange a veterinary check to rule out pain. If there is no medical cause, ask your vet about support from a qualified behaviour professional.
Can grooming prevent ear infections?
Good general care may help you notice changes early, but grooming cannot prevent every ear problem. Ear infections can have several causes, including allergies, parasites, foreign objects and changes within the ear canal. Follow your vet’s prevention plan rather than cleaning or removing hair more often than advised.
Conclusion
Comfortable ear checks are built through patience, small steps and respect for your dog’s signals. Begin with easy touches, reward frequently, keep sessions short and stop before your dog becomes worried. Never force a painful ear or use products without appropriate veterinary guidance.
If you would like calm, one-to-one grooming support in the Storrington, West Sussex area, you are welcome to contact Howling Dogs Grooming for a chat about your dog’s handling needs. Where an ear looks sore or unusual, your vet should always be the first port of call.