
How to Keep Floppy Dog Ears Clean and Dry
Floppy ears are beautiful, but they can trap warmth and moisture. Learn how to check, clean and dry your dog’s ears safely, what to avoid, and when ear changes need prompt veterinary attention.
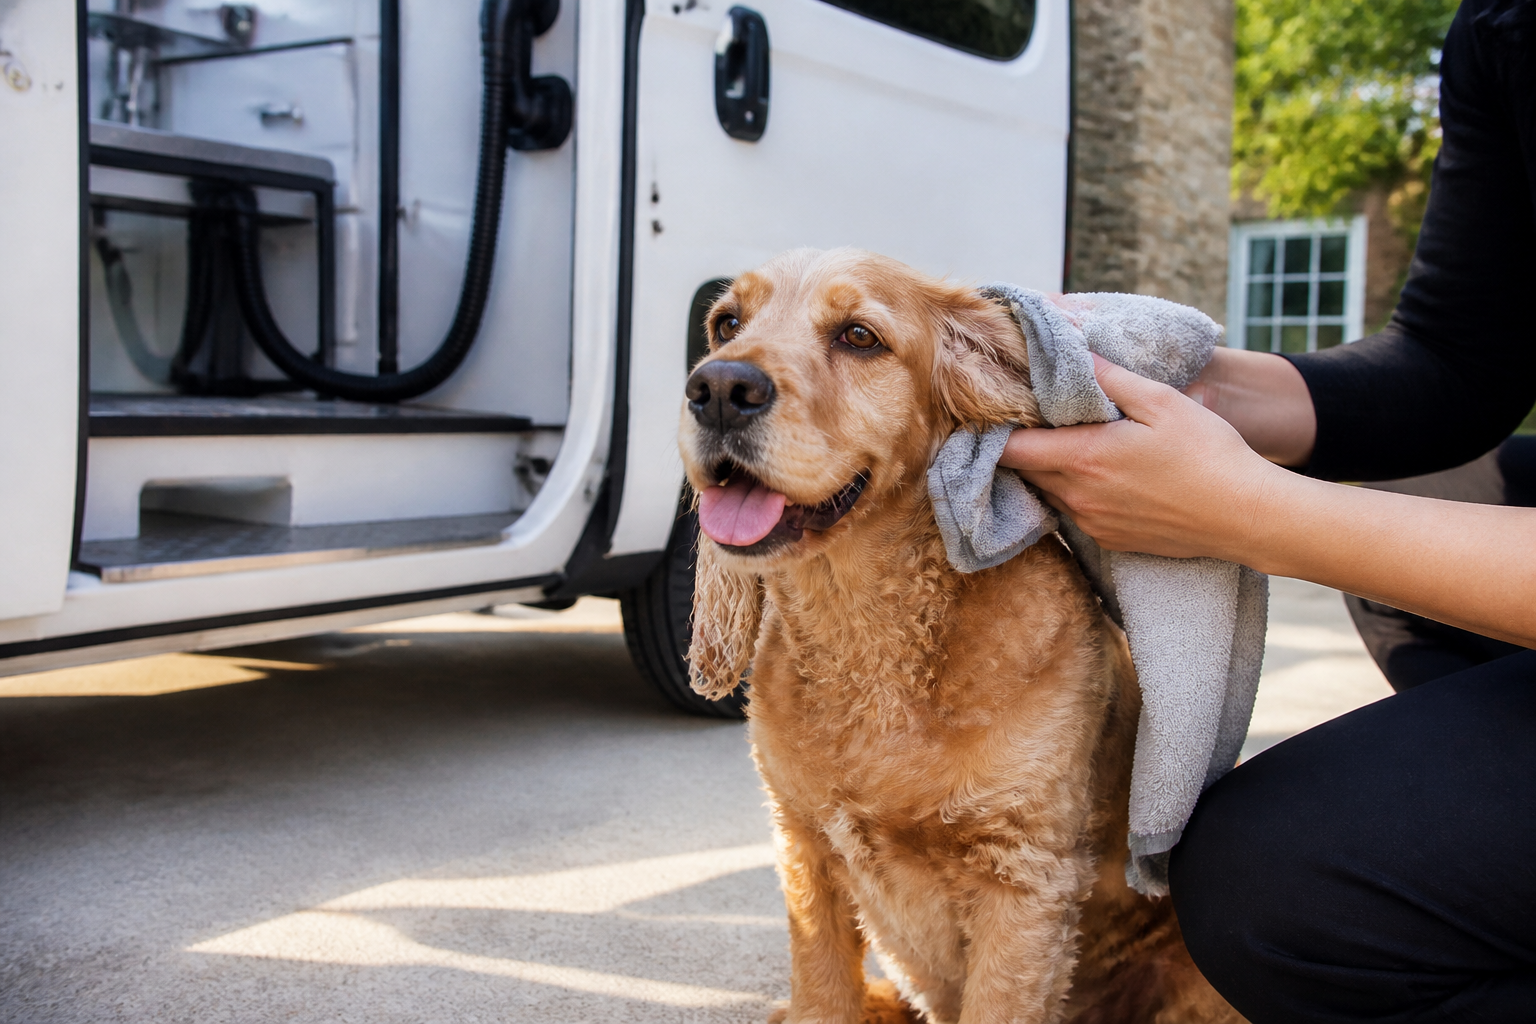
Floppy ears are part of what makes many dogs so lovable, from Spaniels and Basset Hounds to Cockapoos and other long-eared breeds. However, ears that rest close to the head can also stay warm and damp, particularly after bathing, swimming or a wet walk. That makes regular, gentle checks especially worthwhile.
The aim is not to scrub your dog’s ears constantly. In fact, many dogs do not need routine ear cleaning unless their ears are visibly dirty, waxy or their vet has advised it. Good ear care is about noticing what is normal for your dog, keeping the surrounding fur tidy and dry, and acting promptly if something changes.
In this guide, we explain how to keep floppy dog ears clean and dry at home, how to make ear care a calm experience, and which signs mean you should contact your vet. At Howling Dogs Grooming, we take a patient, one-to-one approach and can gently tidy the fur around your dog’s ears during a grooming appointment, but grooming should never replace veterinary care for sore or infected ears.
Why floppy ears need a little extra attention
A dog’s ear canal is not a simple straight tube. It bends downwards, which means moisture and debris can be difficult to see once they have moved inside. A floppy ear flap can cover the entrance to the canal, reducing airflow and holding warmth close to the skin.
That does not mean every floppy-eared dog will develop an ear problem. It simply means that checking the ears is a sensible part of routine care. Some dogs are also more prone to ear trouble because of allergies, excess hair, narrow ear canals, previous infections or other underlying conditions.
Bathing, swimming, rain and muddy walks can leave moisture around the ear flap and the fur behind the ear. Wet fur that remains pressed against the skin can become uncomfortable and may contribute to irritation. Carefully drying the outside of the ear after these activities is therefore helpful.
What healthy floppy dog ears should look and smell like
Every dog is slightly different, so it is useful to learn your own dog’s normal appearance and smell. Healthy ears are generally comfortable to touch and free from obvious swelling, wounds, heavy discharge or a strong unpleasant odour.
A small amount of pale wax may be normal for some dogs. What matters is a noticeable change, especially if it is accompanied by itching, redness, pain or repeated head shaking.
During a calm check, look for:
- skin that is a normal colour for your dog and not noticeably red or inflamed;
- no swelling of the ear flap or the area around the ear;
- no sticky, yellow, green, bloody or unusually dark discharge;
- no strong, sour or foul smell;
- no excessive scratching, rubbing or head shaking;
- fur that is not persistently wet, matted or caked with mud behind the ear; and
- a dog who is comfortable with the ear being gently handled.
Do not force the ear flap open or poke into the canal to get a better look. If your dog pulls away, cries, growls or seems worried, stop and seek advice rather than turning the check into a struggle.
How often should you clean floppy dog ears?
There is no universal cleaning timetable. Some dogs may go their whole lives without needing their ears cleaned, while others need a vet-recommended routine because of recurring wax, allergies or previous ear disease.
Over-cleaning can irritate delicate skin and may disturb the ear’s natural environment. It can also make a dog more resistant to future handling if every ear check becomes uncomfortable. A gentle visual and smell check every few days is often more useful than automatically putting cleaner into the ears on a fixed schedule.
Clean only when your dog’s ears are visibly dirty or when your vet has specifically advised you to do so. If the ears look sore, inflamed or painful, contact your vet before cleaning them. Your dog may need examination and treatment rather than a home clean.
What you need for gentle ear care
Keep your supplies simple and use products intended for dogs:
- a dog-specific ear cleaner recommended by your vet or a reputable veterinary professional;
- cotton wool or soft cotton pads for wiping the visible outer ear;
- a towel for drying the ear flap and surrounding fur;
- gloves if you prefer to use them;
- small, rewarding treats; and
- a quiet, non-slip place where your dog feels secure.
Do not use cotton buds inside the ear canal. They can push wax further in and may injure the delicate structures of the ear. Avoid putting fingers deep into the canal, too.
Do not use shampoo, perfume, household disinfectant, essential oils, vinegar mixtures or other home remedies inside your dog’s ears unless your vet has specifically instructed you to use a particular product. Dogs and cats should not share ear products unless a vet has confirmed that the product is suitable for both species.
How to clean a floppy dog’s ears safely
If your vet has confirmed that cleaning is appropriate, choose a calm time when your dog is relaxed. Never chase your dog around the house with the bottle, and do not begin immediately after a stressful event.
Step 1: Let your dog inspect the supplies
Place the cleaner, cotton wool and treats nearby. Allow your dog to sniff them. Reward calm behaviour before you touch the ear. For a nervous dog, you may need to practise this over several short sessions before attempting a clean.
Step 2: Look before you clean
Lift the ear flap gently and check for redness, swelling, pain, heavy wax, discharge or an unusual smell. If you see or notice anything concerning, stop and contact your vet. Cleaning a painful ear can make your dog more distressed and may not be the right treatment.
Step 3: Apply the dog-safe cleaner as directed
Hold the ear flap up without pulling it tight. Place the nozzle at the entrance of the ear, taking care not to push it down into the canal. Apply the amount recommended on the product label or by your vet.
Do not share bottles between dogs unless advised, and do not use an old product that has changed colour, smell or appearance. Follow the storage instructions and check the expiry date.
Step 4: Massage the base of the ear
Gently massage the base of the ear for the length of time advised by your vet or the product instructions. You may hear a soft squelching sound as the cleaner moves around the wax. Keep your touch light and stop if your dog appears painful or frightened.
Step 5: Allow your dog to shake
Let your dog shake their head. This helps move loosened material towards the opening of the ear. It is sensible to do this somewhere easy to wipe clean, as cleaner and wax may spray onto nearby surfaces.
Step 6: Wipe only what you can see
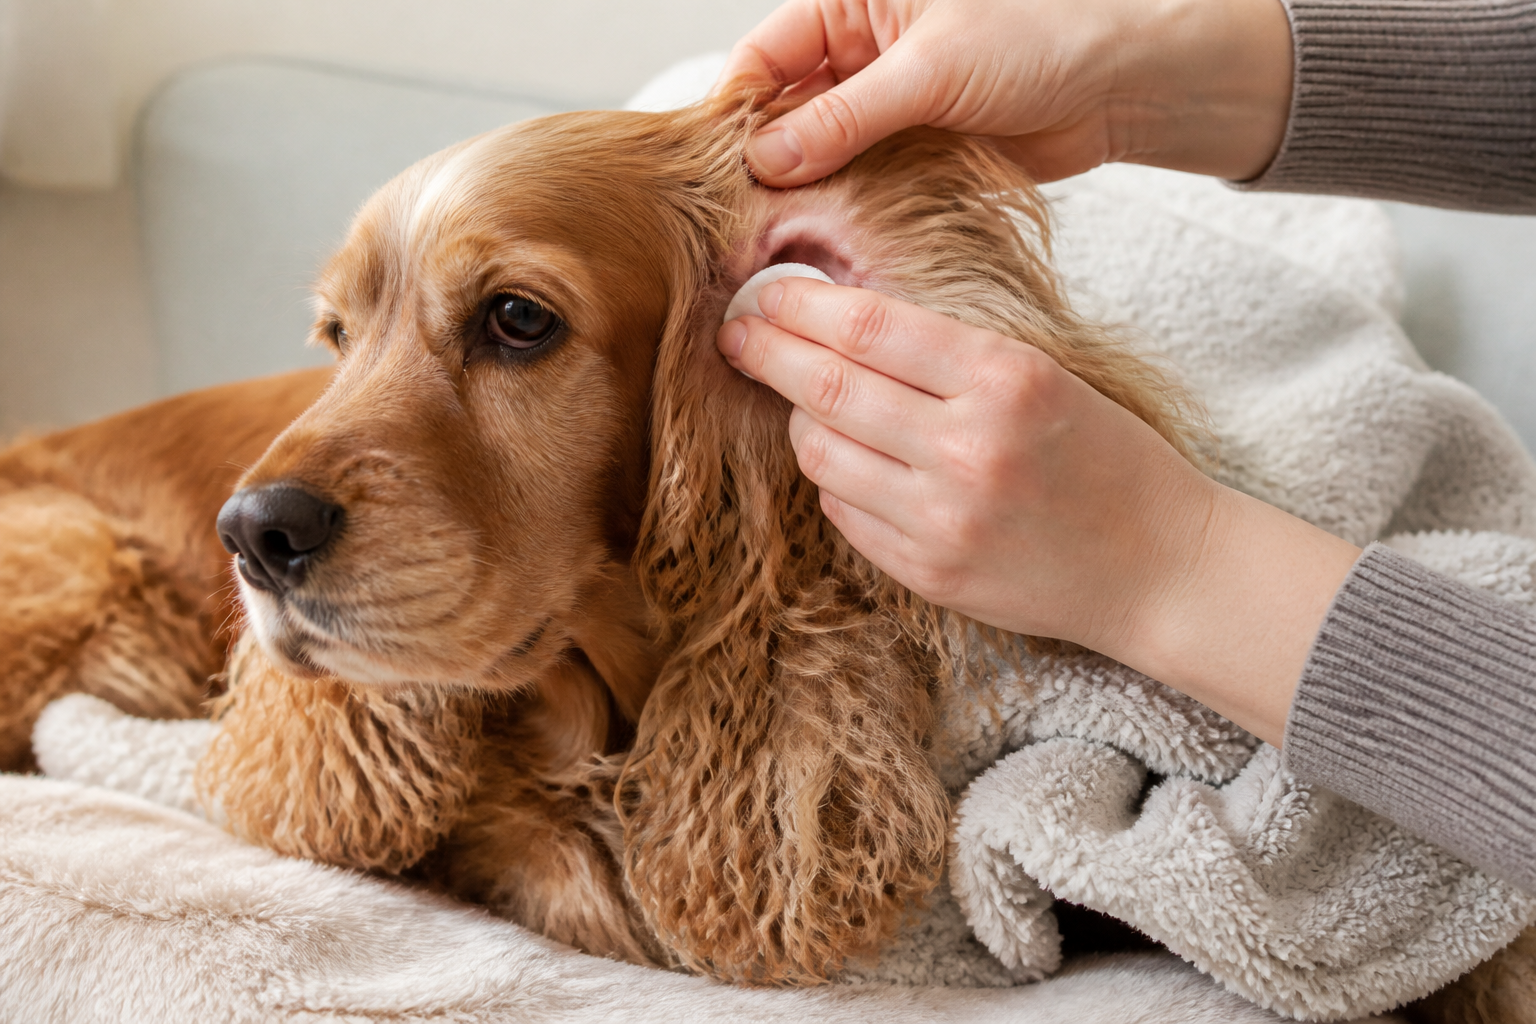
Use cotton wool or a soft pad to wipe the ear flap and the visible entrance of the ear. Work gently and replace the cotton wool as it becomes dirty. Do not push anything down the canal or try to remove material that you cannot see clearly.
Step 7: Reward and finish calmly
Offer a treat, praise your dog quietly and stop while the experience is still manageable. If one ear is more sensitive than the other, do not keep repeating the process in an attempt to make both sides look identical. Ask your vet for advice if you are struggling.
Keeping floppy ears dry after bathing or swimming
Moisture around the outer ear is common after a bath or a swim. The safest approach is to prevent water from running directly into the ear canal and to dry the outside thoroughly afterwards.
- Before bathing, gently fold the ear flaps out of the way where possible.
- Keep shampoo and running water away from the ear openings.
- Rinse the coat carefully so no shampoo residue remains around the ears.
- Use a clean towel to blot the outer ear, behind the ear and the fur at the base.
- Lift the ear flap briefly to allow air to reach the surrounding skin, but do not hold it open if your dog finds this uncomfortable.
- Check the ears again once your dog is dry and relaxed.
Never use a hot hairdryer close to the ear. If your dog accepts a dryer, use a cool or low-warm setting, keep it moving and hold it well away from the skin. Many dogs prefer towel drying followed by time in a warm, draught-free room.
After swimming, pay particular attention to dogs whose ears become damp inside the fold or whose ear hair stays wet for a long time. If your dog regularly develops ear problems after swimming, ask your vet whether a particular drying or cleaning routine is suitable.
What about hair around the ears?
Hair around the outer ear can collect grass seeds, mud and moisture, especially in dogs with curly or long coats. Keeping the surrounding fur brushed, clean and free from mats can make the area easier to check and dry.
However, do not automatically pluck hair from inside the ear canal. Removing hair is not appropriate for every dog, and unnecessary plucking can irritate the skin. Your vet can advise whether hair is contributing to a problem. A qualified groomer can then discuss a suitable, welfare-first tidy around the outer ear.
During a Howling Dogs Grooming appointment, we can work carefully around the ears as part of a full groom or bath and tidy. We will always consider your dog’s comfort and will raise concerns about unusual soreness, discharge or odour rather than attempting to treat a possible medical problem.
Warning signs that need veterinary attention
Contact your vet promptly if your dog shows signs of an ear problem. Ear infections can be painful, and problems that are left untreated may become more difficult to manage.
Important warning signs include:
- frequent head shaking or persistent ear scratching;
- rubbing the ear or side of the face along the floor;
- redness, heat, swelling or obvious irritation;
- pain when the ear or head is touched;
- a strong or unpleasant smell;
- yellow, green, bloody, pus-like or unusually dark discharge;
- scabs, crusting or sores around the ear;
- a swollen ear flap;
- the ear being held differently from normal;
- a head tilt, loss of balance, unusual dizziness or vomiting; or
- an ear problem that keeps returning or does not improve with treatment.
A head tilt, loss of balance or vomiting can indicate a more serious problem and should be treated as urgent. Contact your vet the same day for advice.
Do not rely on an over-the-counter ear cleaner to solve an unexplained problem. Ear discomfort can have several possible causes, including infection, allergies, parasites or something lodged in the ear. Your vet may need to examine the ear and decide which treatment is appropriate.
Parasites, allergies and recurring ear trouble
Ear mites and other parasites can cause irritation and discharge, but cleaning alone will not reliably remove the underlying problem. Use only licensed parasite products that are suitable for your dog, and apply them exactly as directed. Ask your vet if you are unsure which product is appropriate, particularly if your dog is young, elderly, pregnant, unwell or taking other medication.
Recurring ear problems can also be associated with skin allergies or other underlying conditions. If your dog has repeated episodes, tell your vet how often they occur, whether they follow swimming or bathing, and whether your dog also has itchy skin or sore paws. Treating the underlying cause is often an important part of reducing repeat flare-ups.
Never put leftover medicated ear drops into a new episode unless your vet has told you to do so. The cause may be different, and some products may not be suitable if the eardrum is damaged.
Common mistakes to avoid
- Cleaning on autopilot: not every dog needs frequent ear cleaner. Follow your vet’s advice rather than a rigid routine.
- Using cotton buds: these can push debris further inside or cause injury.
- Ignoring the smell: a new strong odour can be an early sign that something is wrong.
- Bathing through discomfort: do not continue grooming if your dog suddenly becomes painful around an ear.
- Plucking without advice: ear hair removal is not automatically beneficial and can irritate sensitive skin.
- Using human products: human ear products, shampoos and home remedies may not be suitable for dogs.
- Stopping prescribed treatment early: follow your vet’s instructions and complete medication as directed, even if the ear seems better.
- Holding the ear tightly open: restraint can increase fear and may cause your dog to fight the process.
- Trying to remove a grass seed yourself: a foreign body in the ear should be assessed and removed by a vet.
Making ear care easier for your dog
Good handling starts before there is a problem. Brief, positive practice can help your dog become comfortable with gentle ear checks.
- Touch the side of your dog’s neck, then reward calm behaviour.
- Briefly lift the ear flap and reward.
- Show your dog a cotton pad and reward relaxed behaviour.
- Practise wiping only the outer ear with a dry pad.
- End each session after a few seconds, before your dog becomes worried.
Use a calm voice and allow your dog to move away between repetitions. A dog who is frightened or painful may need a different handling plan from your vet or a qualified behaviour professional.
One-to-one mobile grooming can also help some dogs because they are handled calmly in a familiar setting on their own driveway, without the noise and distractions of a busy salon. At Howling Dogs Grooming, we take the time to work at your dog’s pace and can adapt a bath and tidy or full groom around their comfort.
Floppy dog ear-care checklist
- Check the ears regularly and learn what is normal for your dog.
- Keep the outer ear and fur behind the ears clean and dry.
- Use only dog-specific products recommended or approved for your dog.
- Never use cotton buds inside the ear canal.
- Avoid water, shampoo and hot air directly in the ear opening.
- Do not pluck inner ear hair unless your vet has advised it.
- Use licensed parasite products exactly as directed.
- Contact your vet promptly for pain, redness, swelling, discharge, strong odour, persistent scratching or head shaking.
- Seek same-day veterinary advice for a head tilt, loss of balance or vomiting.
- Tell your groomer about any known ear sensitivity, previous infections or veterinary instructions before the appointment.
Frequently asked questions
Can I clean my dog’s floppy ears every day?
Usually, daily cleaning is unnecessary unless your vet has prescribed or recommended a particular routine. Over-cleaning may irritate the ear. Regular gentle checks are useful, but clean only when needed and with a suitable dog ear cleaner.
Should I use cotton wool inside the ear?
Use cotton wool or a soft pad only to wipe the visible outer ear and the entrance. Do not push it down the ear canal. Never use cotton buds.
Why do my dog’s ears smell after a bath?
A damp ear flap or wet fur may have trapped moisture, but a strong or unusual smell can also be a sign of an ear problem. Dry the outside gently and contact your vet if the smell persists or is accompanied by scratching, redness, pain or discharge.
Can a groomer clean an infected ear?
A groomer can carefully tidy surrounding fur and help keep a dog comfortable during routine grooming, but a suspected infection needs veterinary assessment. Do not ask a groomer to treat a painful, swollen or discharging ear.
Should I clean my dog’s ears before a grooming appointment?
There is no need to clean them simply for the appointment. Let your groomer know if you have noticed an odour, discharge, scratching or sensitivity. If the ear appears sore, speak to your vet before grooming.
Kind, consistent care makes a difference
Keeping floppy dog ears healthy is mostly about observation, gentle drying and avoiding unnecessary interference. Check your dog’s ears regularly, keep the surrounding coat free from mats and moisture, and use only suitable products as directed.
If you notice pain, discharge, swelling, a strong smell or changes in your dog’s balance, contact your vet rather than trying to manage the problem at home. For routine coat care, a calm bath and tidy or full groom, contact Howling Dogs Grooming in Storrington, West Sussex. We are happy to offer practical grooming guidance and take a patient, one-to-one approach that puts your dog’s welfare first.